You have been warned… This has a lot of pictures and shall be lengthy! I should also tell you that many of the pictures, if not all, were taken with our phones and even iPads! So excuse the quality.
I will be posting the professional pictures in a few weeks. My husband has been on a fire assignment for about 10 days now and hasn’t actually seen them yet, as they arrived while he’s been gone. Our families have only seen a few because I think he ought to see them all before anyone else.
Anyway!
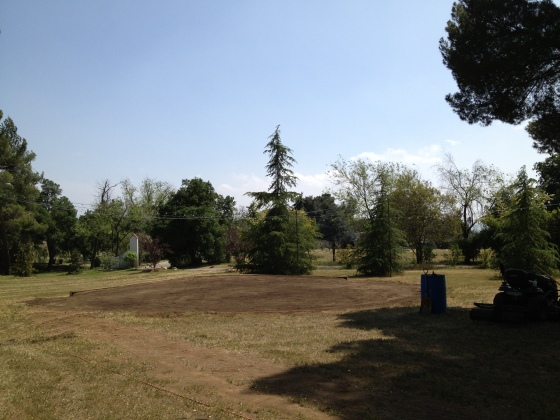
First I should tell you that about a month or two before we even got engaged last year, there was a small fire on the property that charred about 2 acres or so. While at the time, the ground was black and we lost a few precious trees, it was actually a blessing in disguise. We were able to use a lot of the wood that burned and had to be chopped down. The property also got new trees in the process.
A lot of the real physical labor began around January, when we had a lot of the details and specifics chosen, such as theme and whatnot.
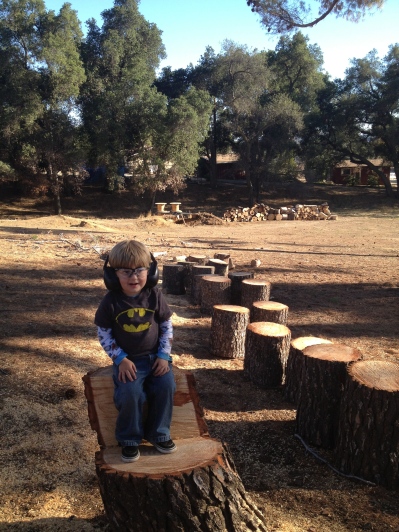
Safety first! This is one of our nephews being a big help 🙂 That wood pile in the background just about doubled when all of the chopping and falling of trees was all said and done.
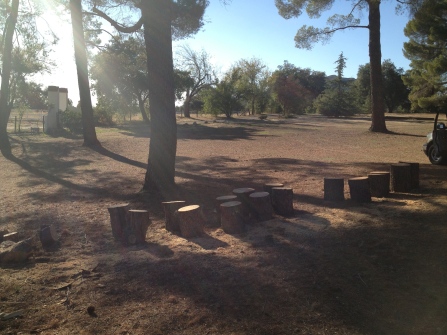
We used the sections above in our aisle.

The next thing to do after new trees were planted were to lay down new water and electrical lines. This included digging new trenches/lines from the source near the house down to pretty much the end of the property. This involved a lot of manual labor with shovels and picks, as well as massive power tools that Bub and his dad handled. FYI, their entire property is about 7 acres. We also had to go across the property (like a T) for more electrical and water lines towards the green. The new trees and golf green were on opposite sides of each other. This process took a few weeks. It was a “do it when we can and not working on other jobs/school” project. I helped when I could, in between school, clinicals, and other various wedding details.
My father-in-law and husband are electrical contractors by trade, so they’ve been able to do everything on their own, including the new water lines. Quite handy men to have around, I tell ya…
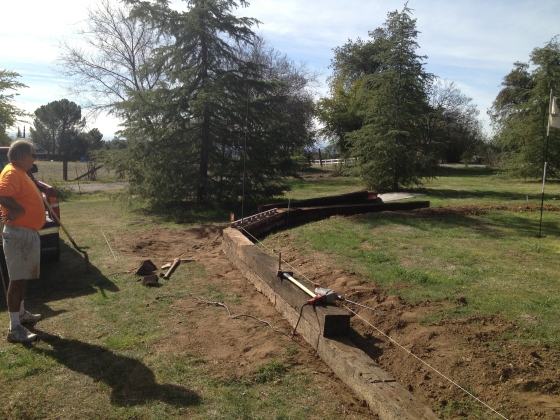

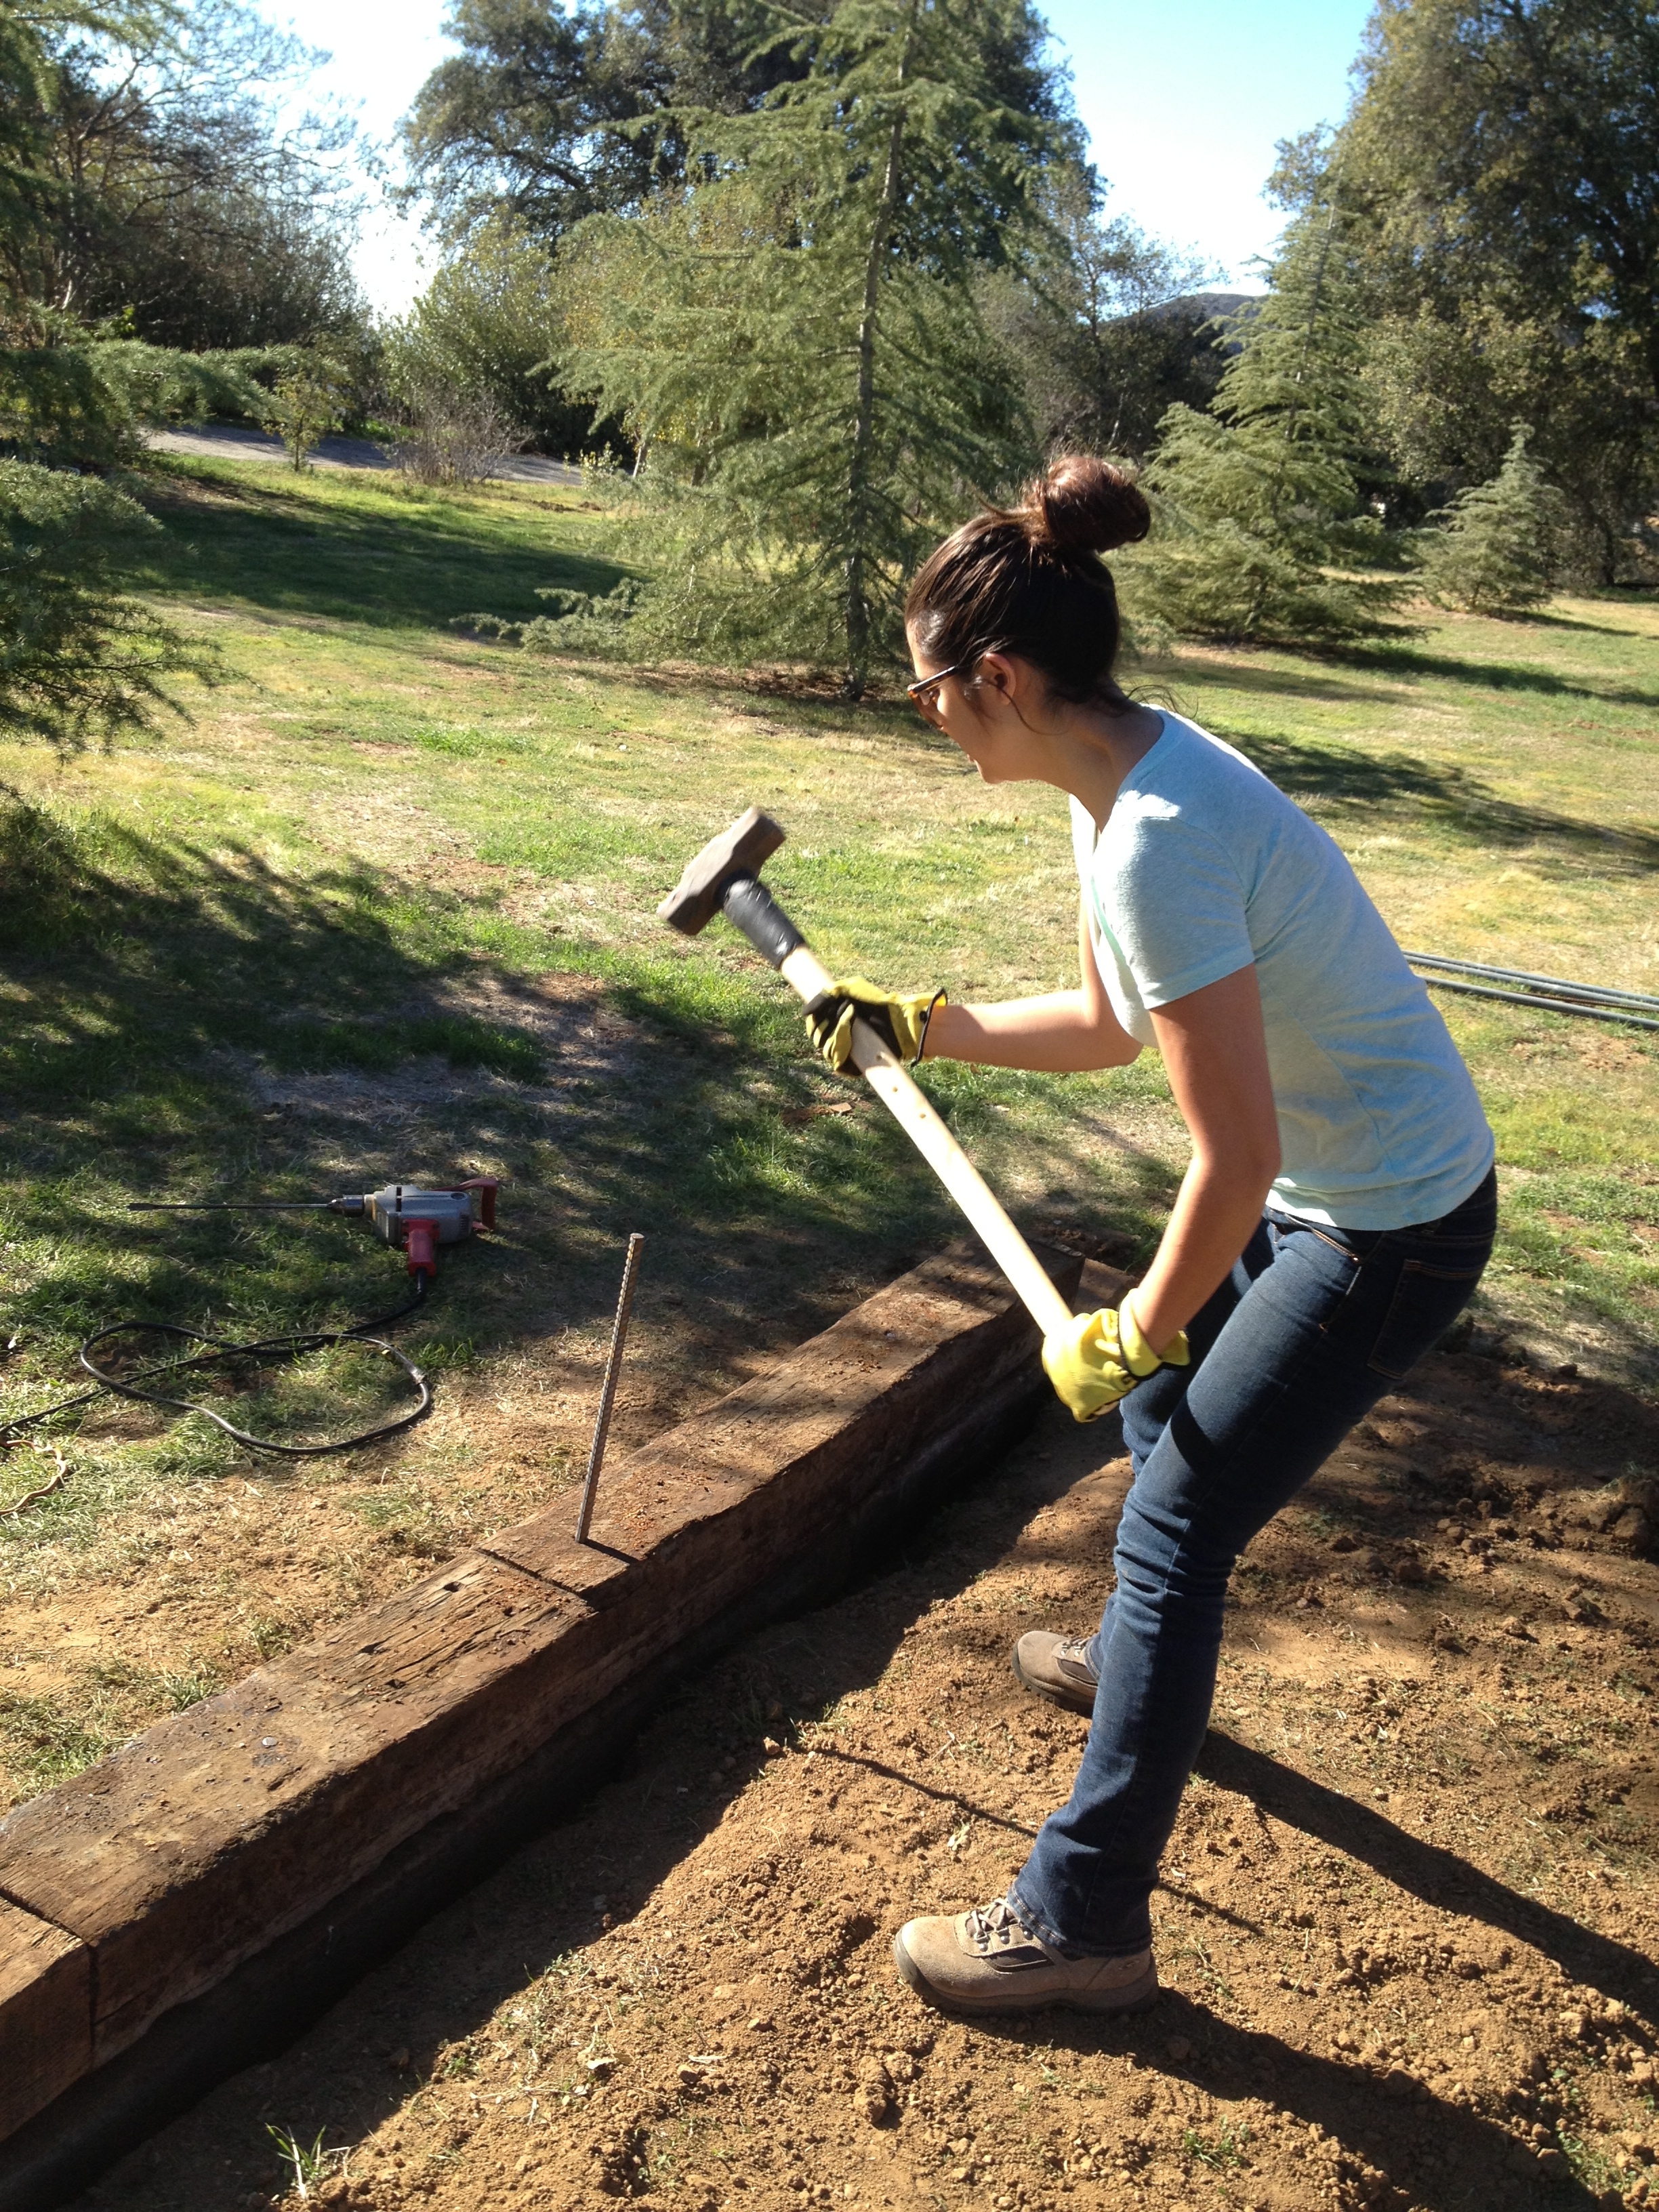
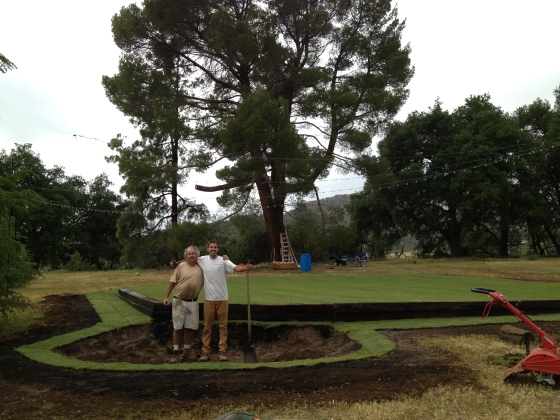
The next big project to do was make a retaining wall around the golf green. Bub has had this par 3 green for about 10 years and we decided this would be our dance floor and reception area. The wall would create a more finished look. Those are railroad ties, by the way.

I helped! Haha.
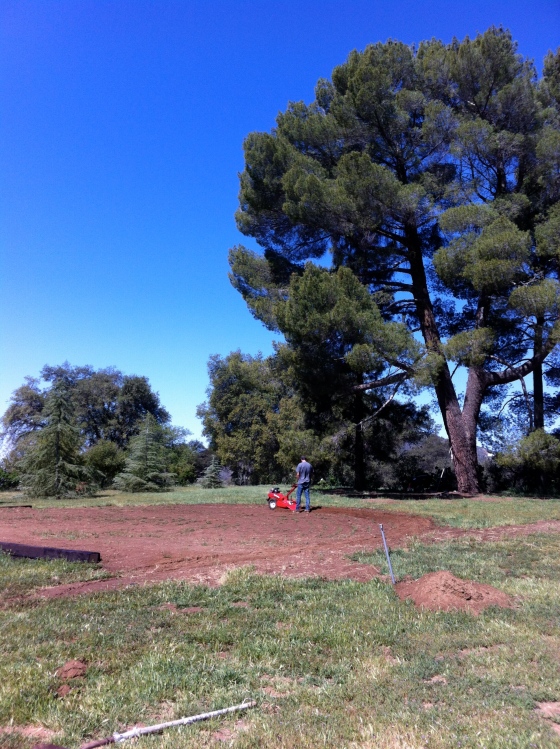
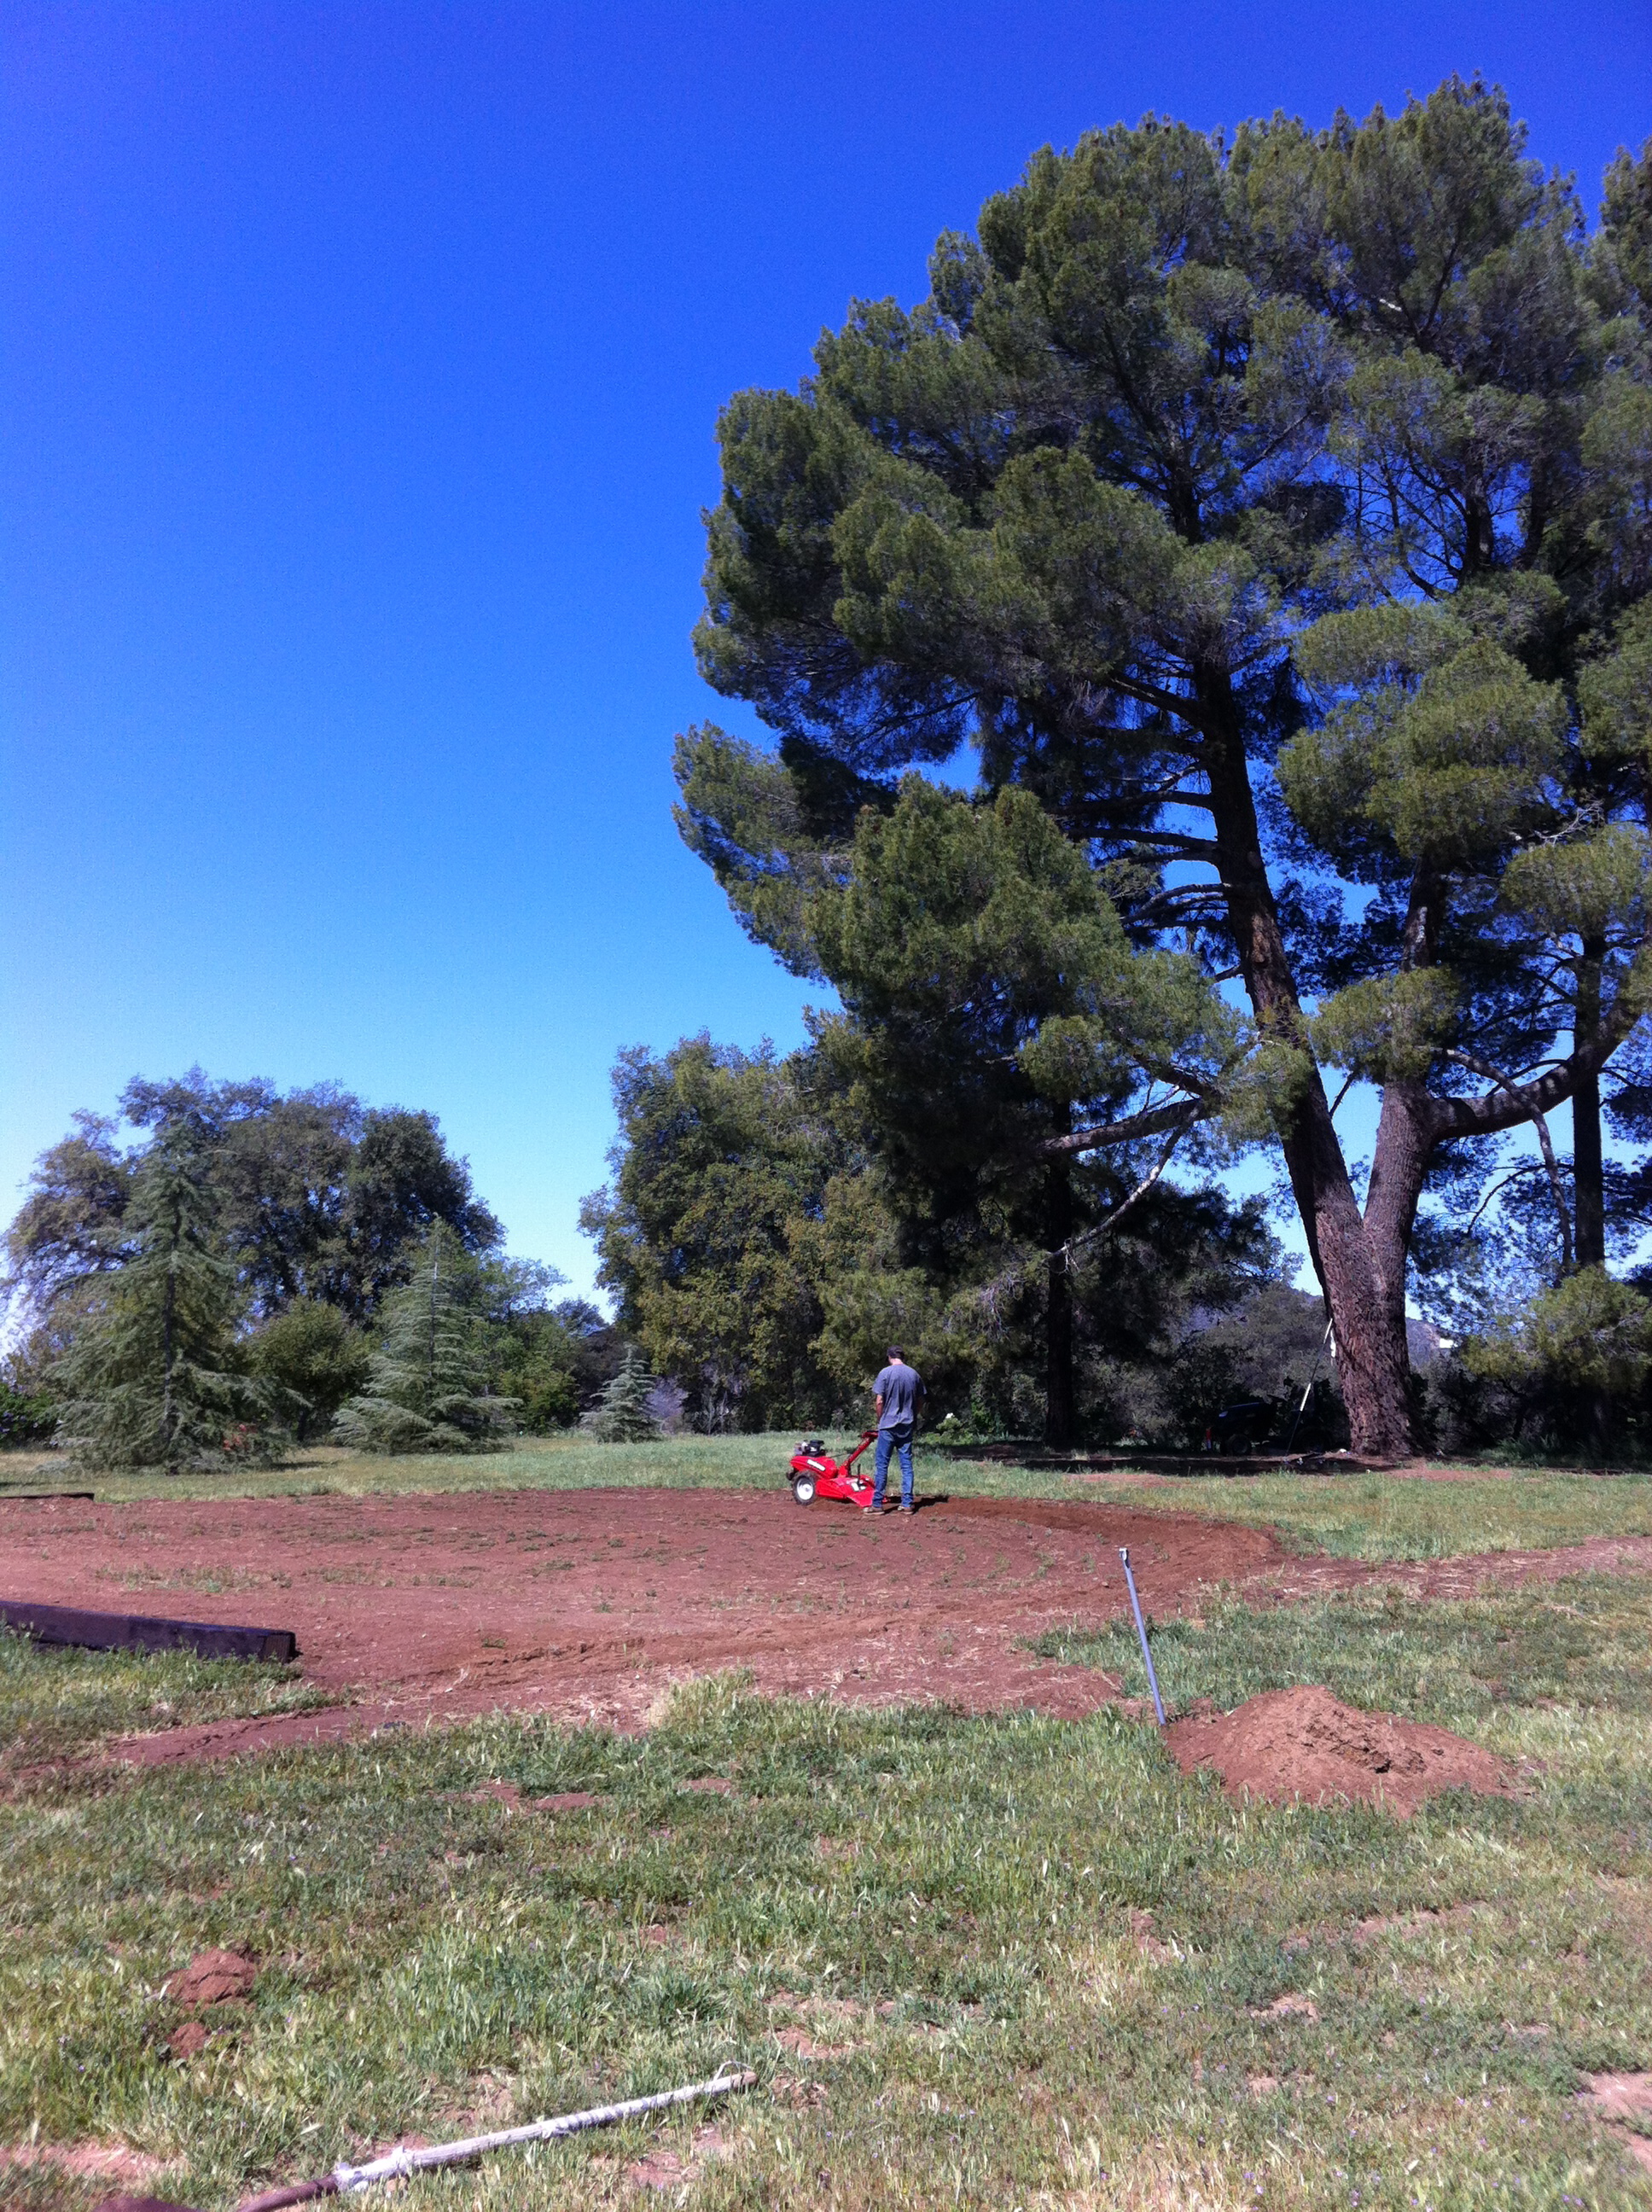
Next was actually prepping the green. When the weather began to warm up around February/March, Bub took out all of the old grass and rototilled the new dirt multiple times. He and his dad also laid new sprinkler lines so the green and surrounding area could get water (duh).
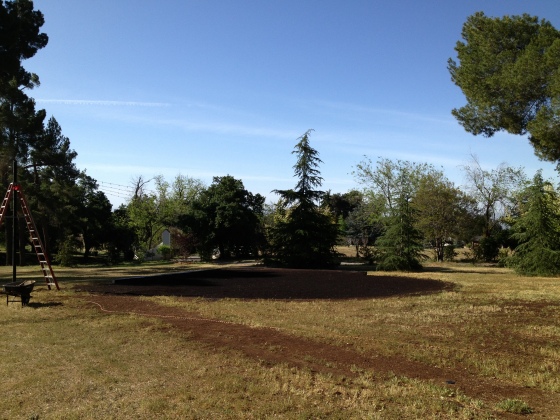
If the green looks pretty dark, that’s because it just got fresh fertilizer. Two truckloads, approximately. The original dirt in the green and surrounding area isn’t exactly “golf grass” material, so they had to put a lot of fertilizer and “nutrition” to get it ready. It didn’t smell good for about a week, especially after a fresh water… You can also see the new electrical/water line, that streak of brown dirt that ends in the corner of the picture.
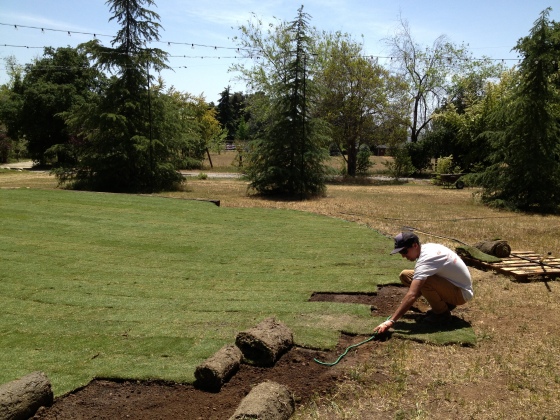


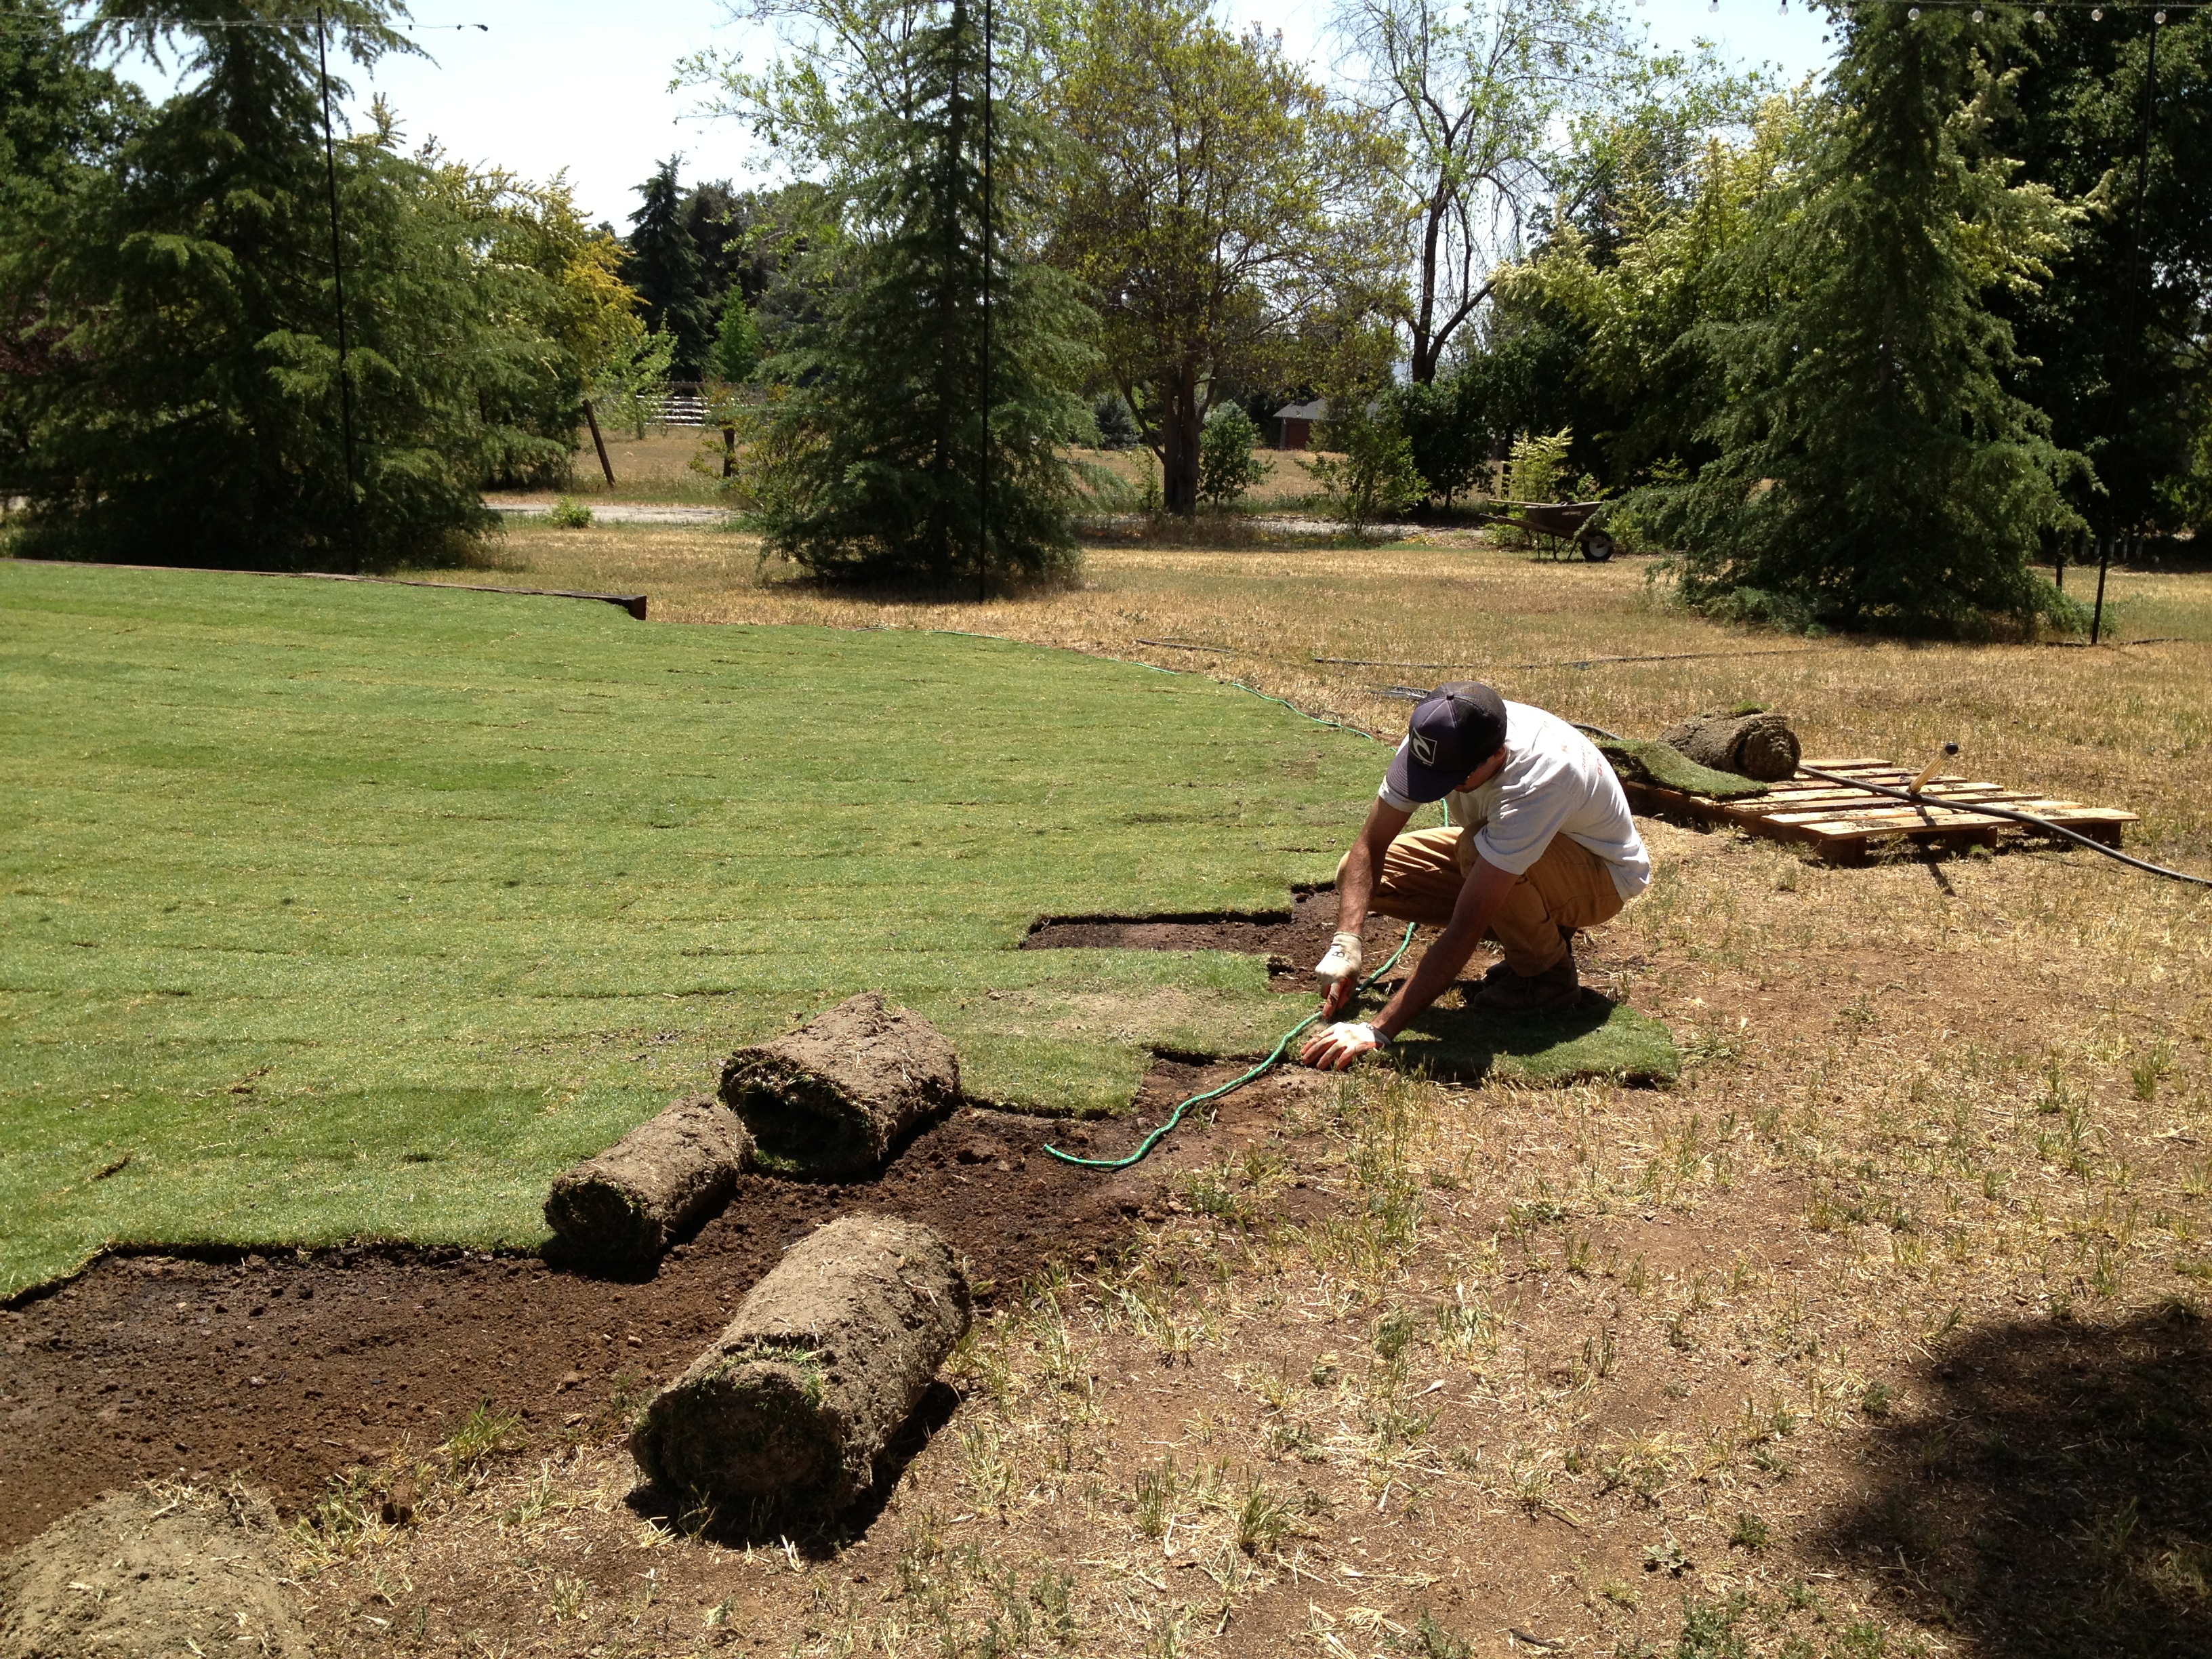
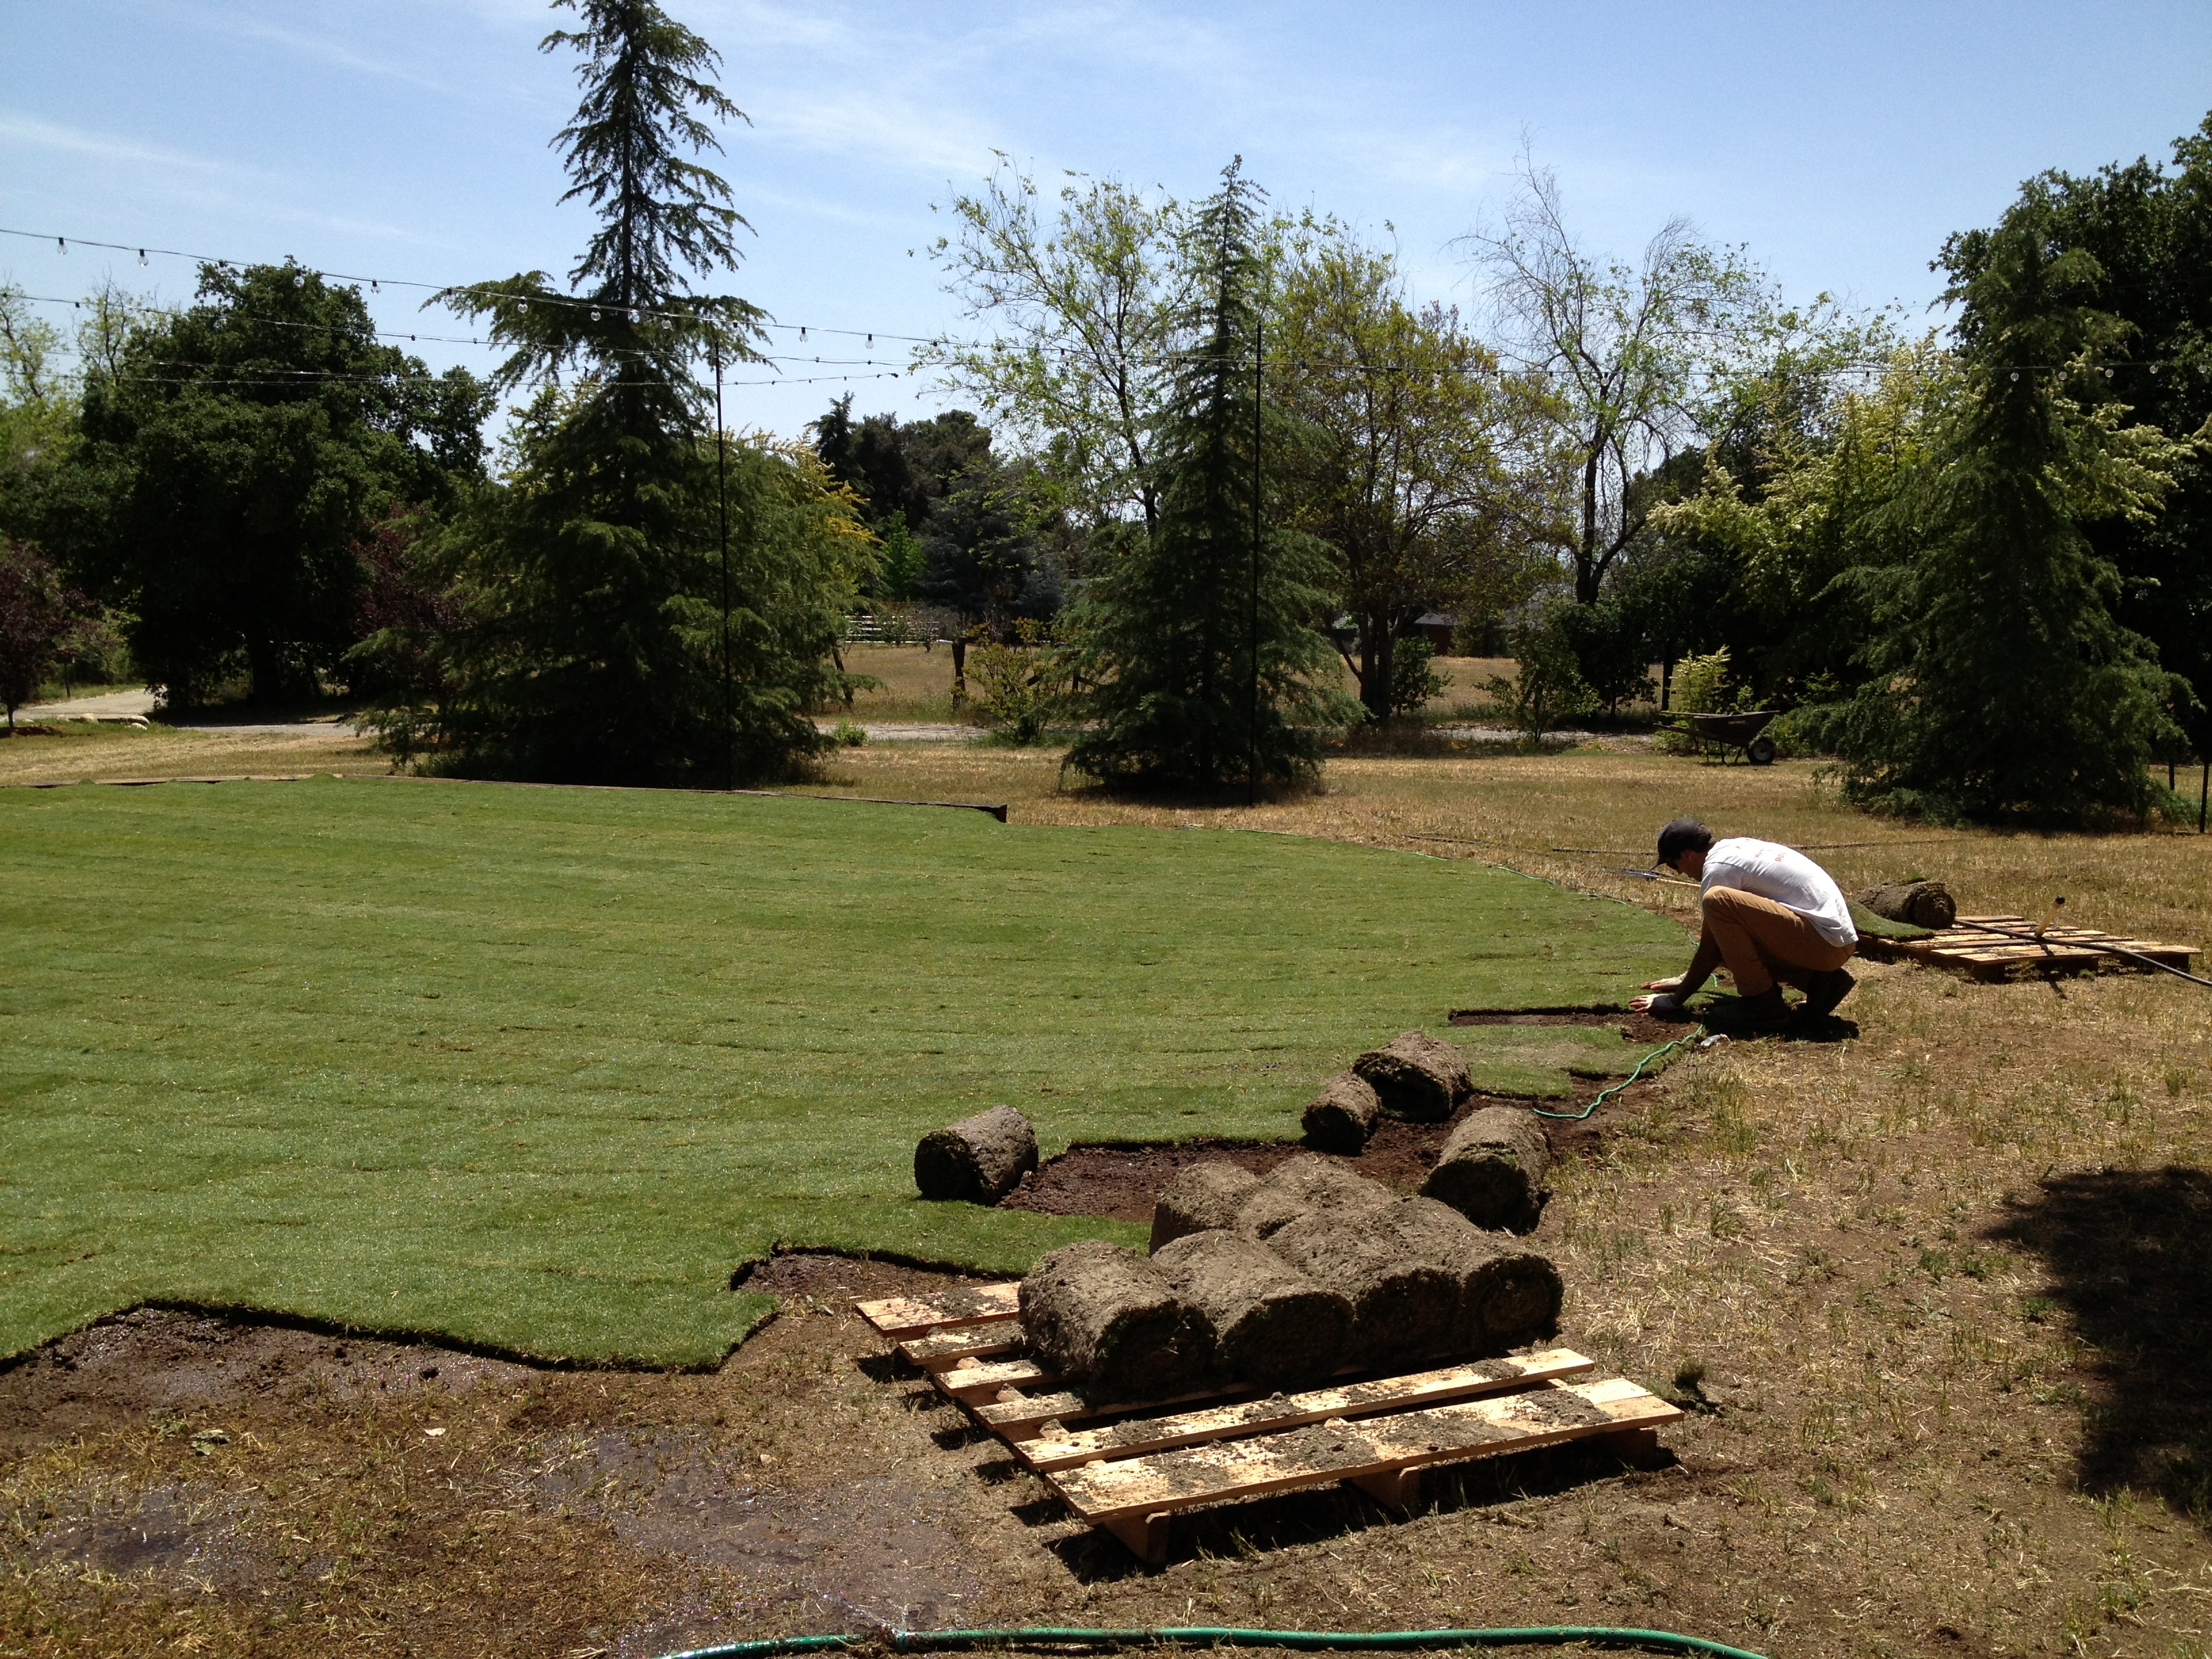
That’s my father-in-law! The next step was laying down sod on the green.
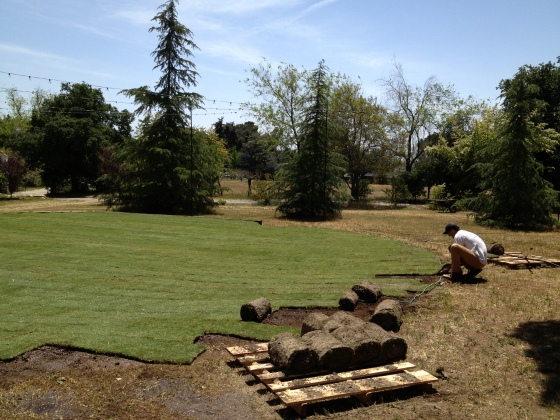

They had a little extra to go around the green. The rest of the area around the green (about a 10-15 foot perimeter) they simply used grass seed, which was very temperamental! Literally the week or two before the wedding, we were out there morning and evening watering it by hand to give it extra hydration because it looked like it would not grow or stay green! Luckily, it paid off and it was gorgeous the day-of!
Bub and his dad are standing in the sand trap, which does have sand by the way! Bub’s twin sister and I dug the hole out. Bub already had small sand trap, about 3×4 ft. She and I simply expanded it. Haha. Bub’s twin, by the way, was such a great help! Those three make such a great team and they are the ones who made everything look so good!! I am forever grateful for my new family!

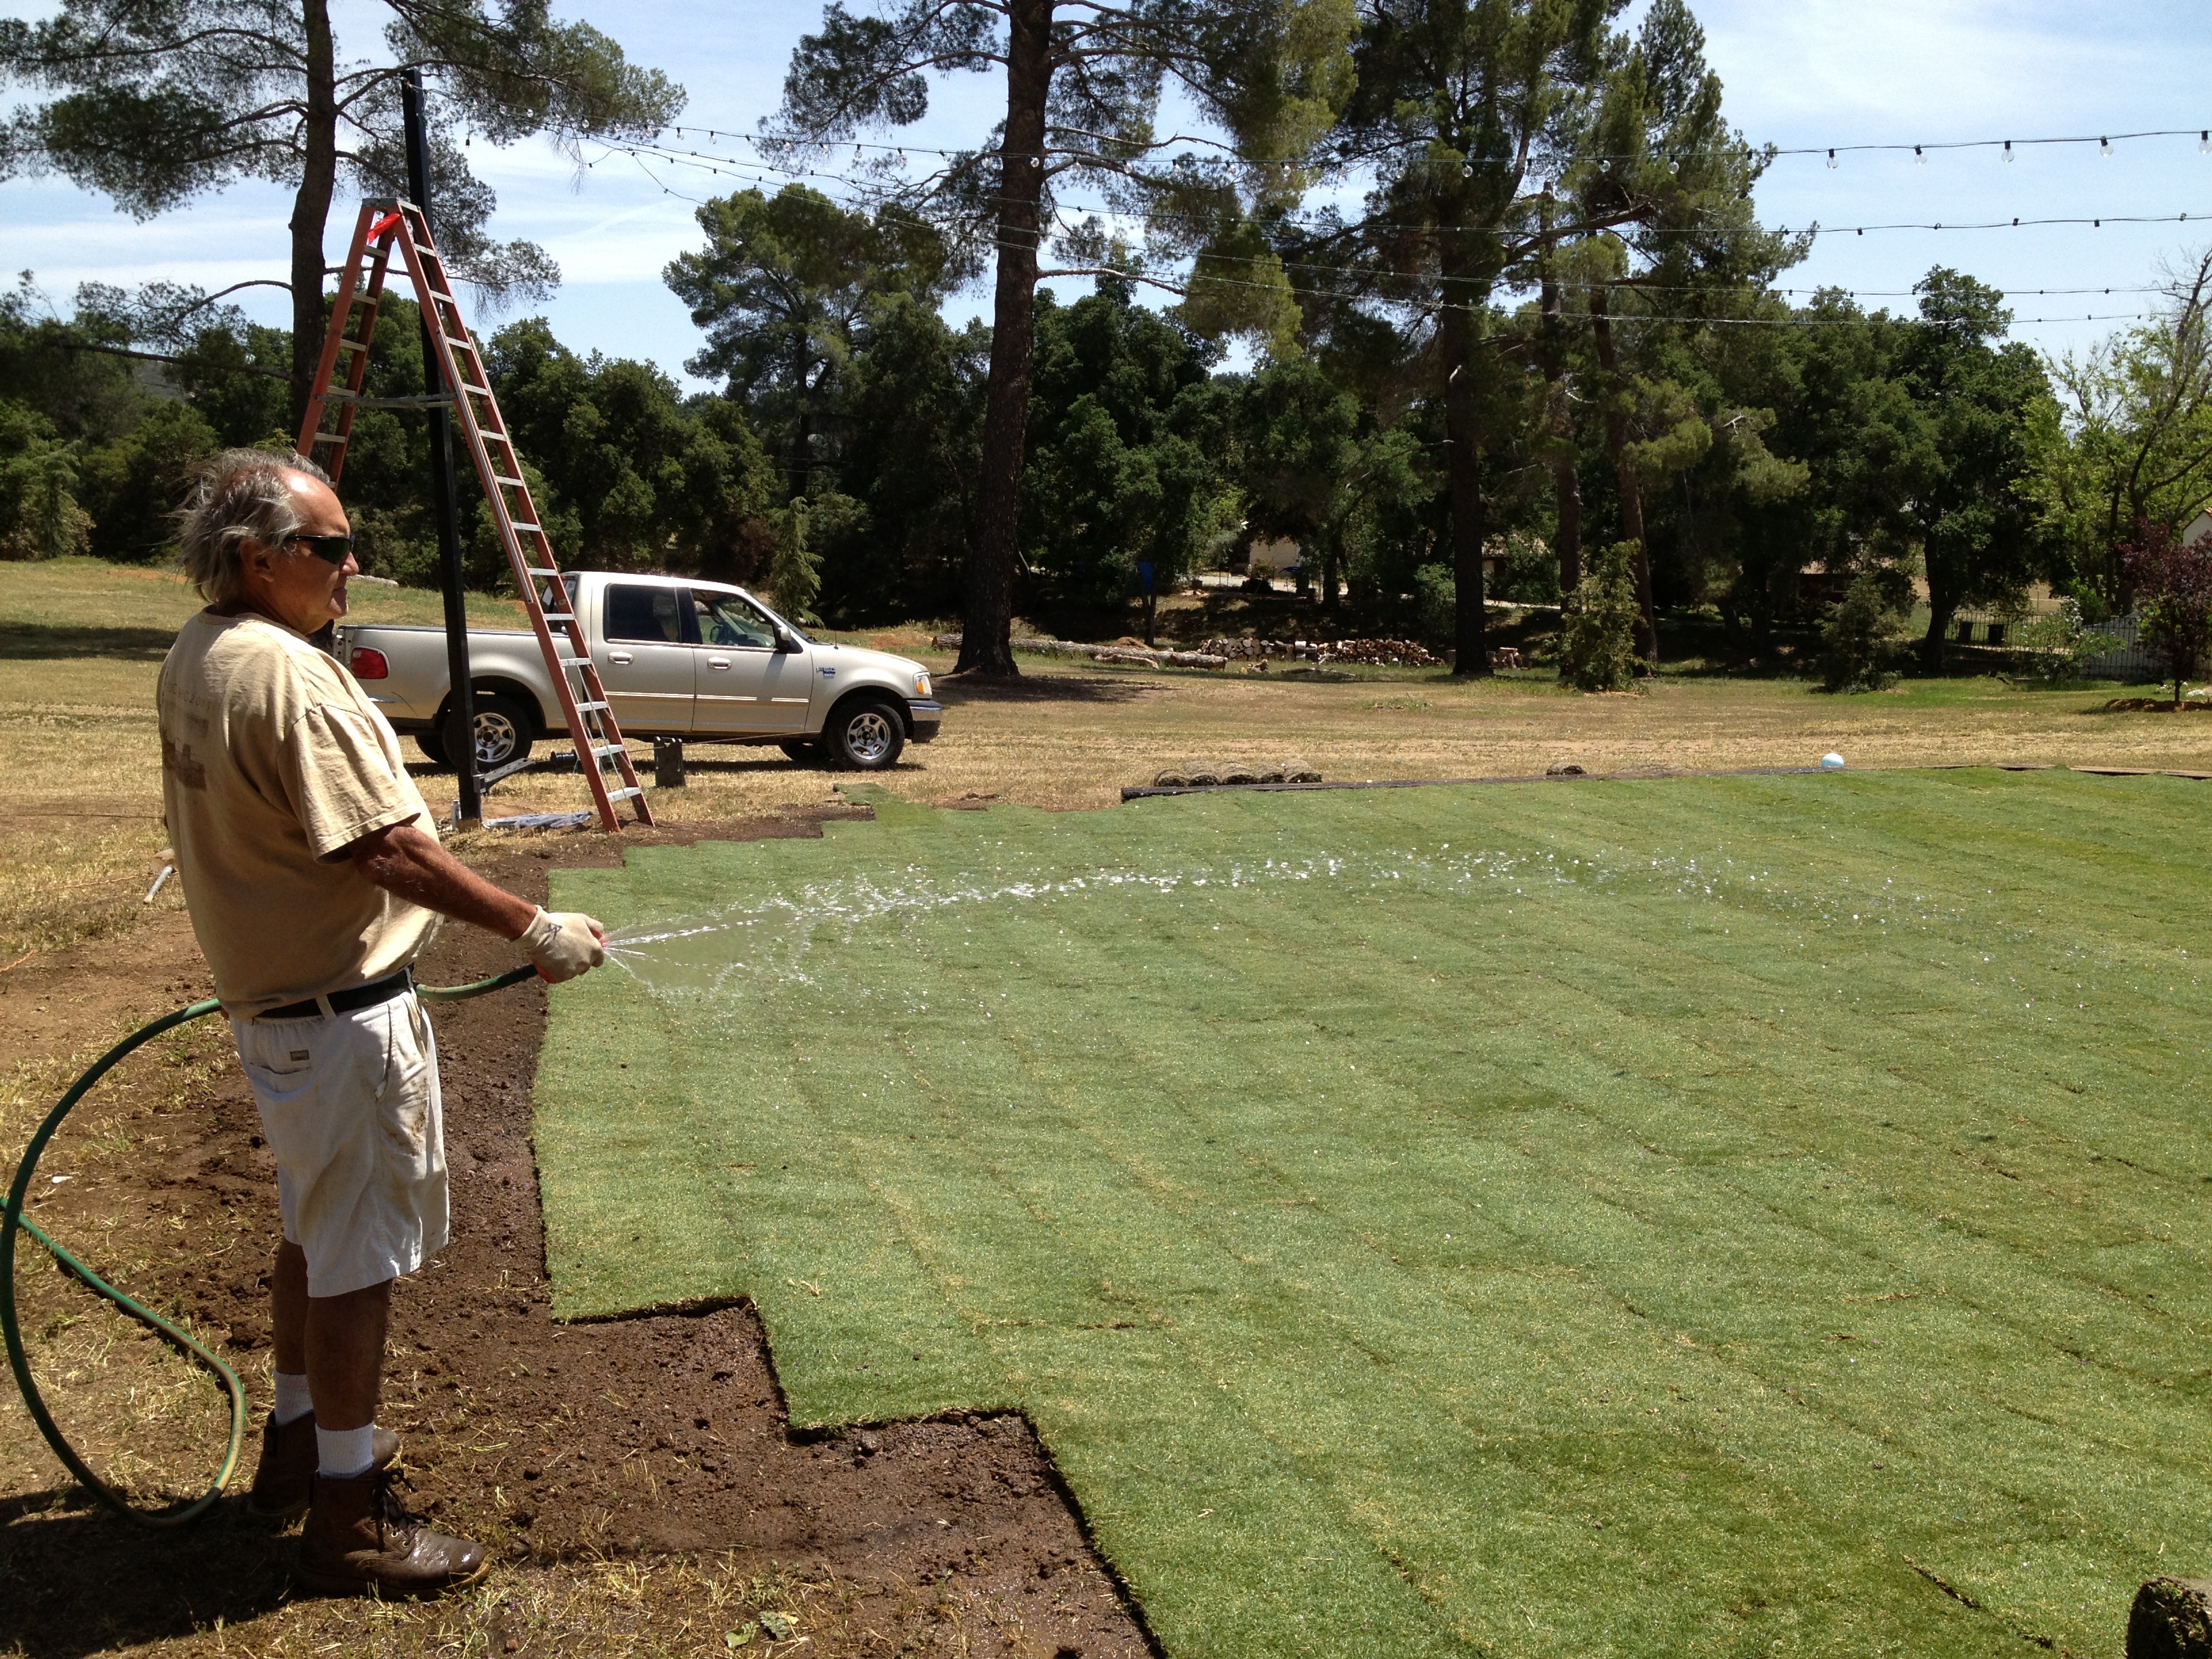
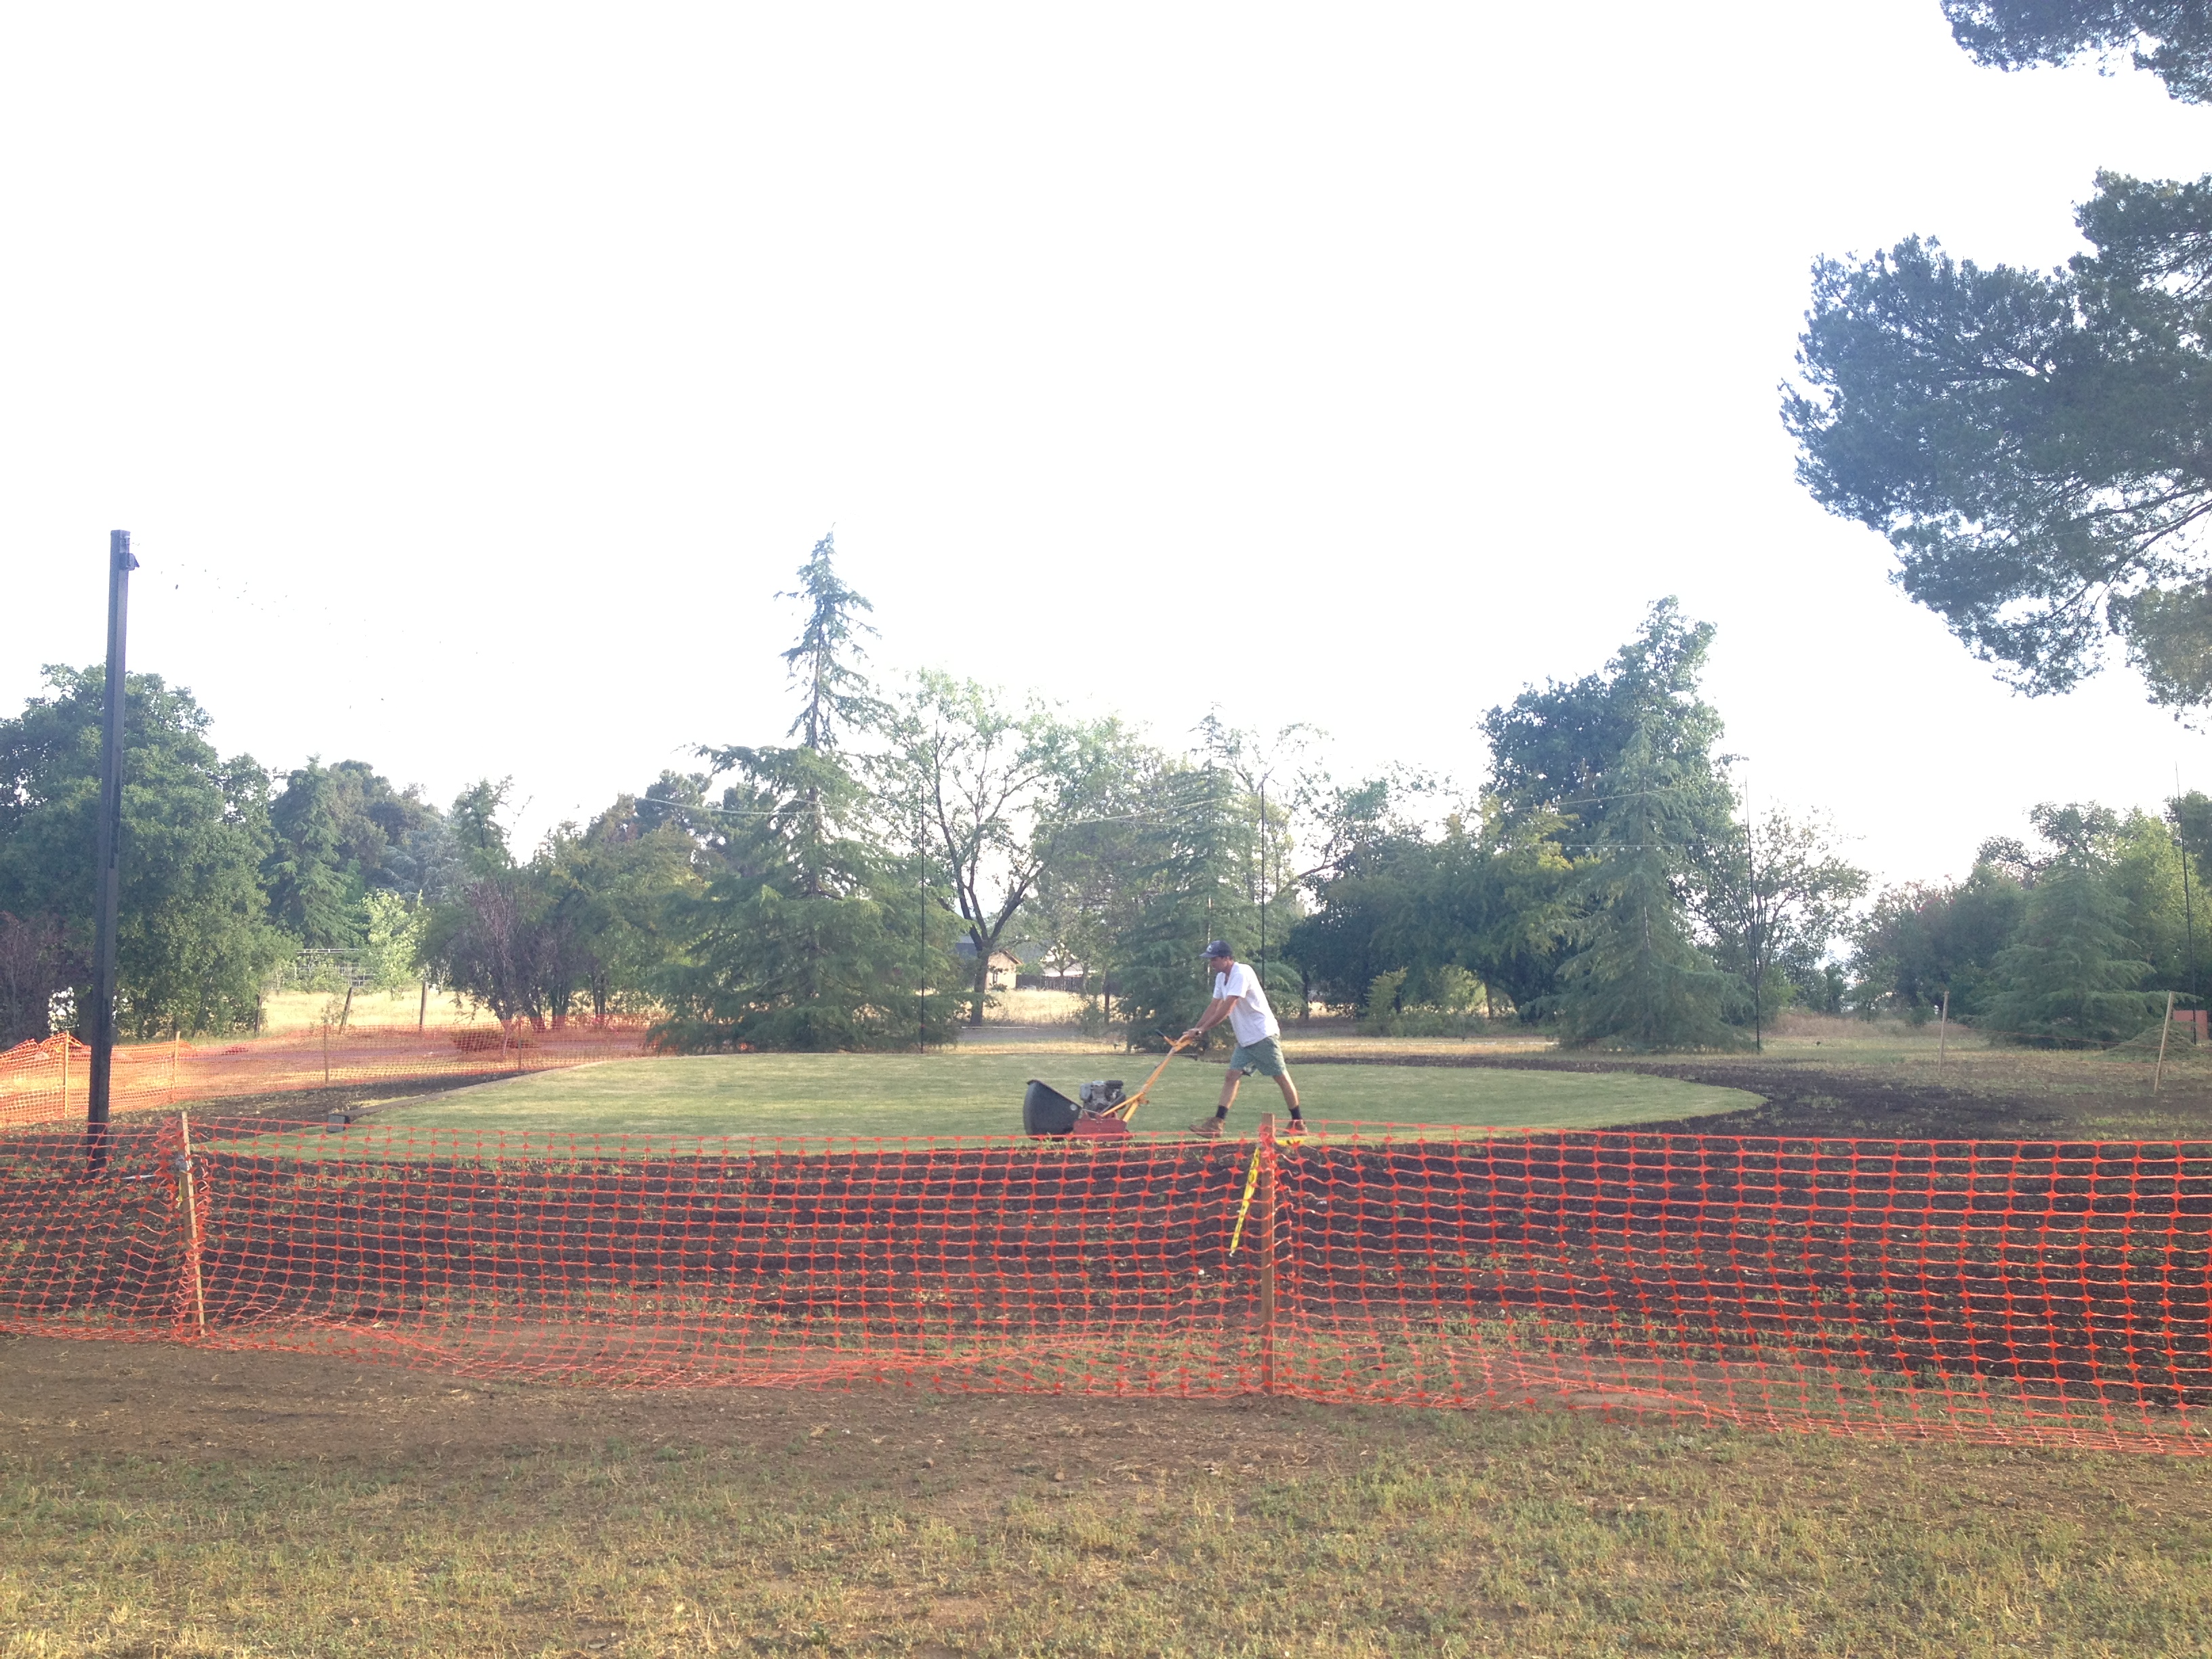
After the new grass was laid, Bub had to mow it down with a special lawn mower about 2-3times a week, not allowing it to grow too tall. We also had to lay a fence around so the dogs and other animals wouldn’t go on the growing grass and disturb it. The first 2-3 weeks after the grass was laid down, we couldn’t even walk on it. Just watch it and hope the roots grabbed hold!

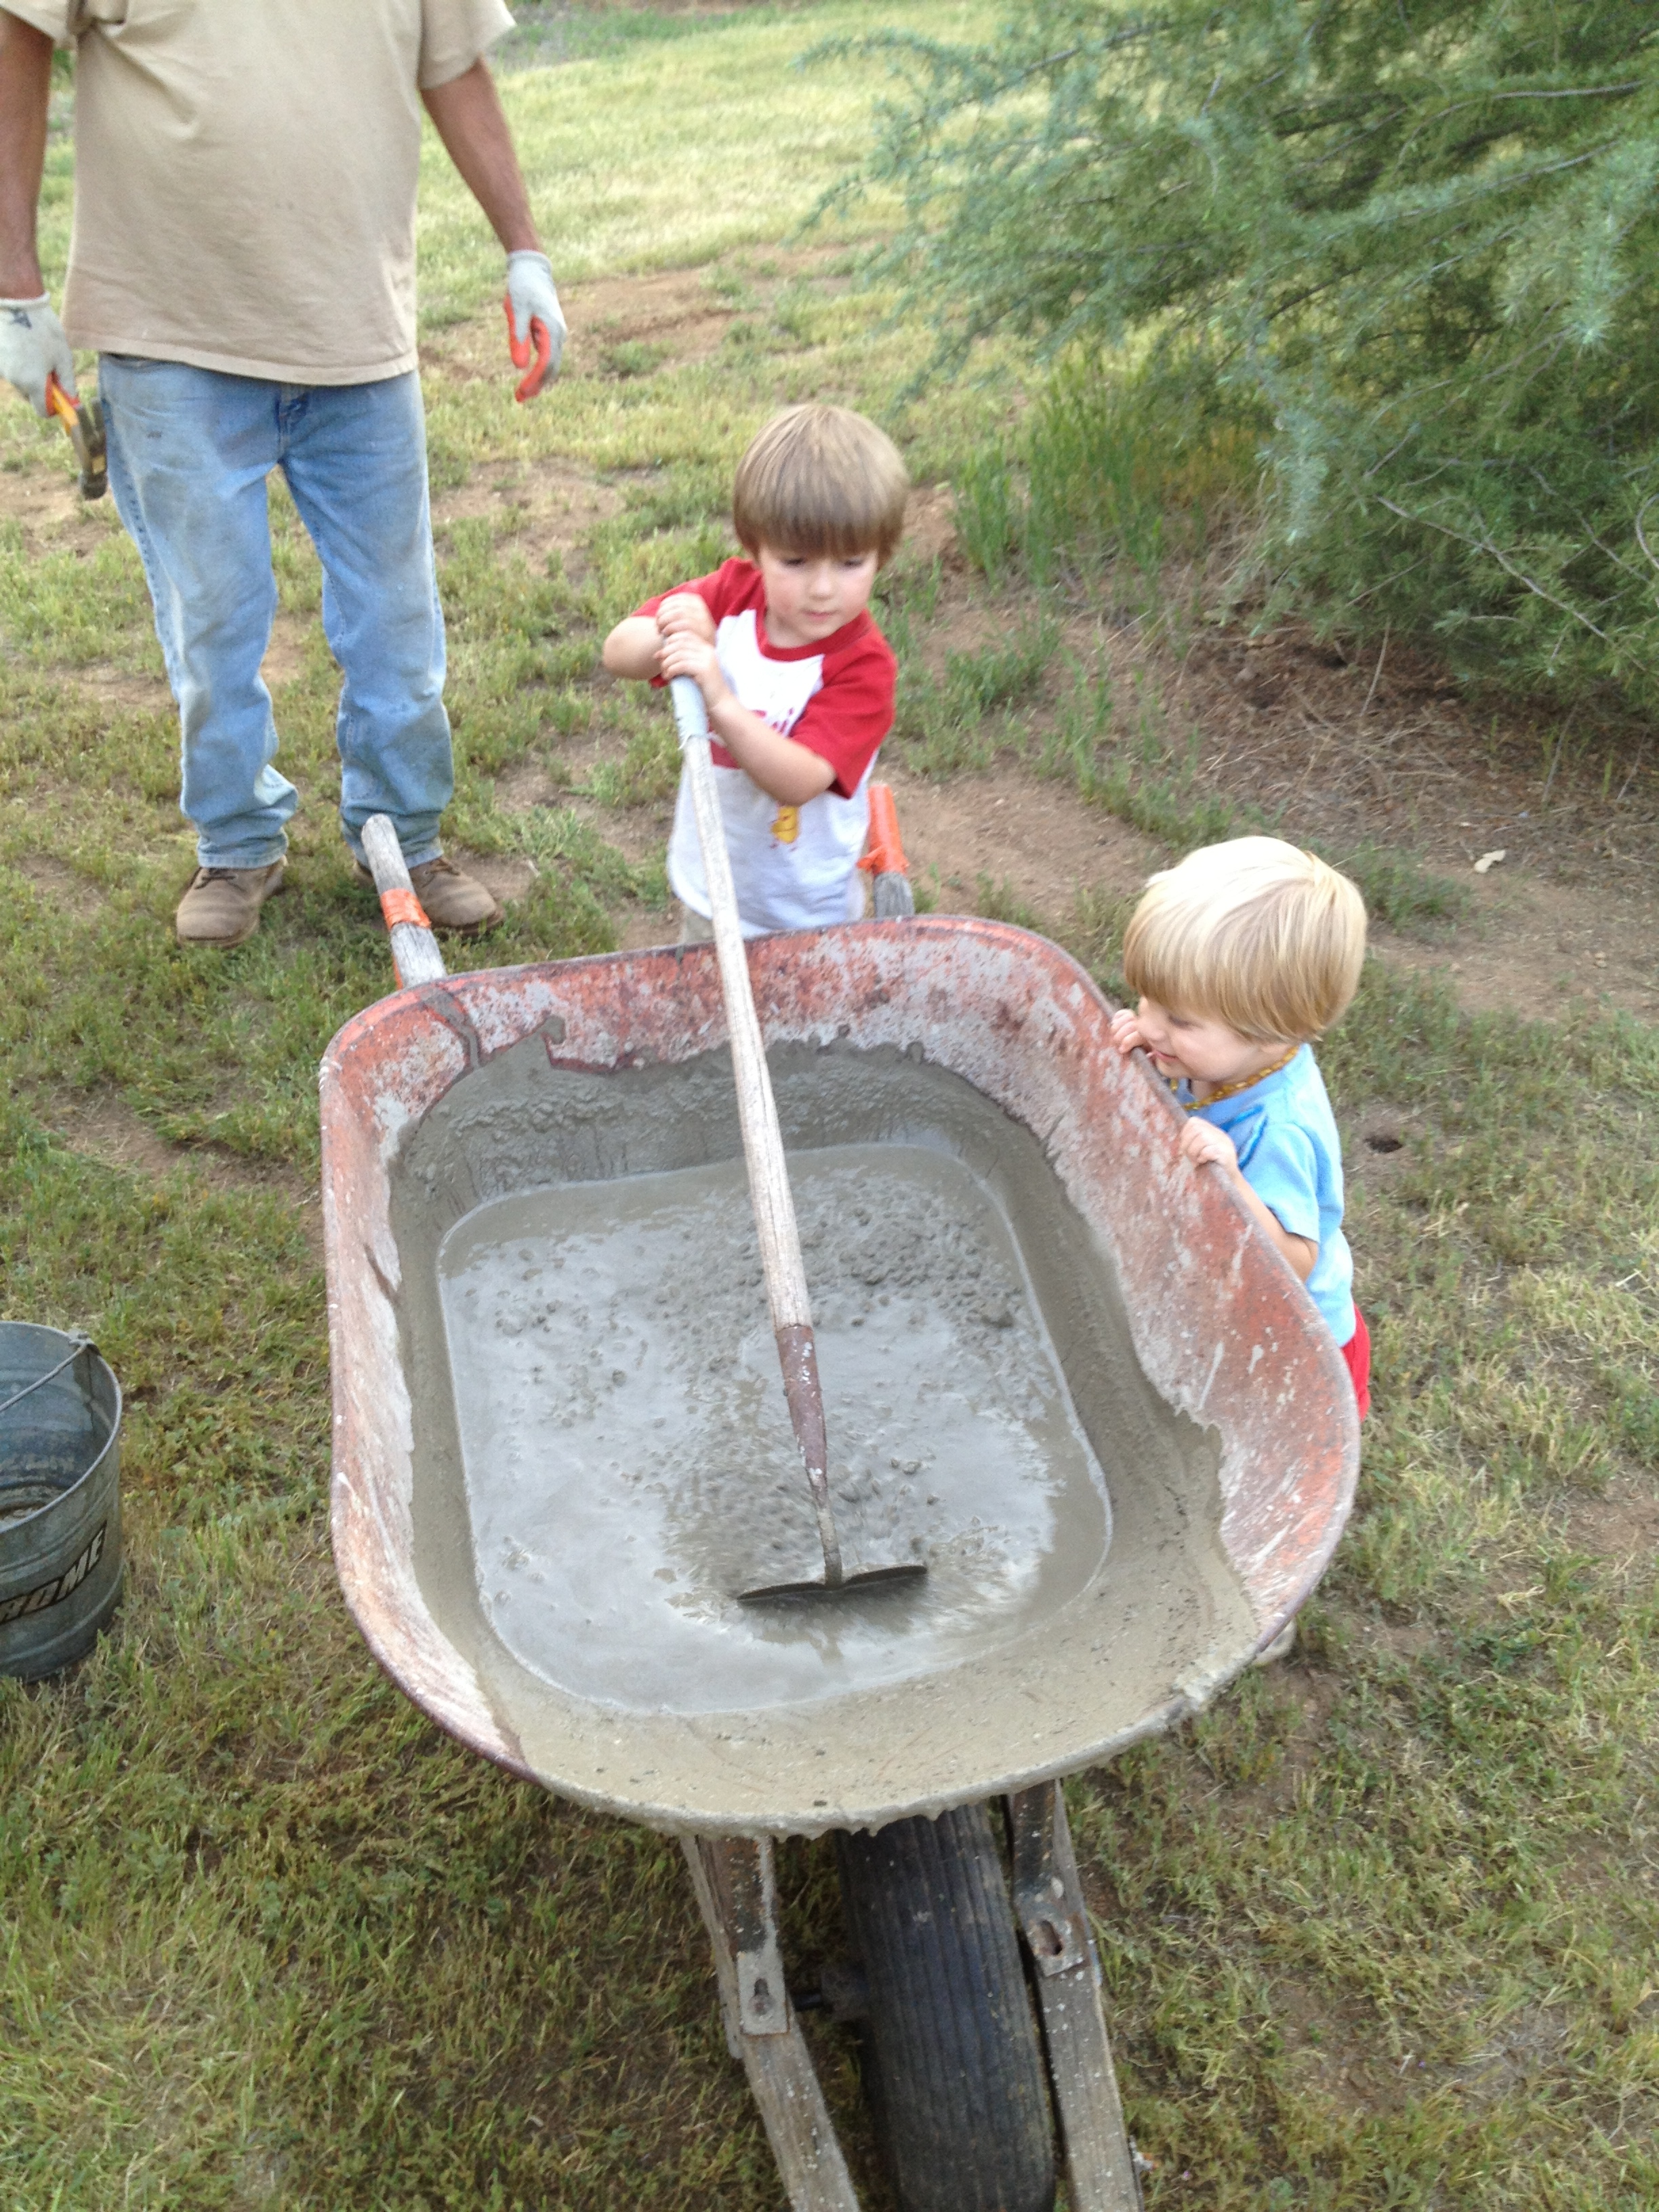
Our wonderful assistants once again helping lay concrete for the poles that would hold our cafe lights! We had one main pole and then about 6 others. All of the lights started at the main and then fingered out to the rest. This was one reason we needed new electrical lines… Lights!
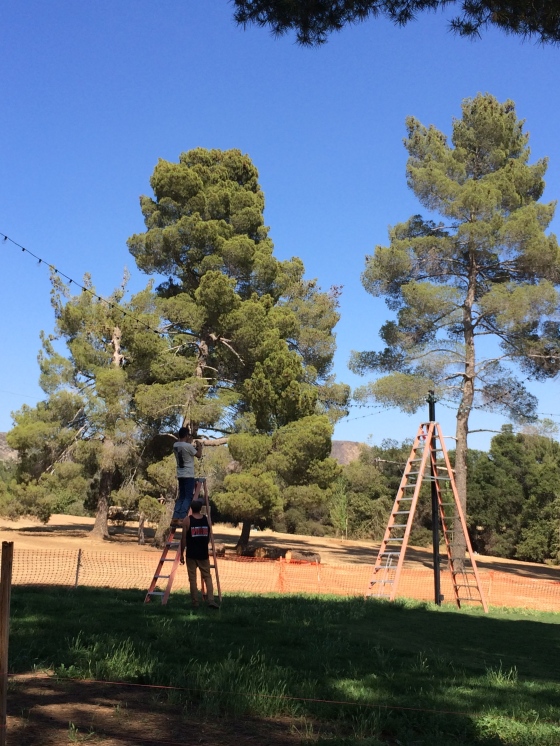

Putting the bulbs on! Bub and his dad used wire to connect the poles and then of course we attached the string lights. We had six 50-foot lines, then about eight 25-foot strings total.
Between the lights and our DJ, we had just enough power to not blow a fuse! Haha.

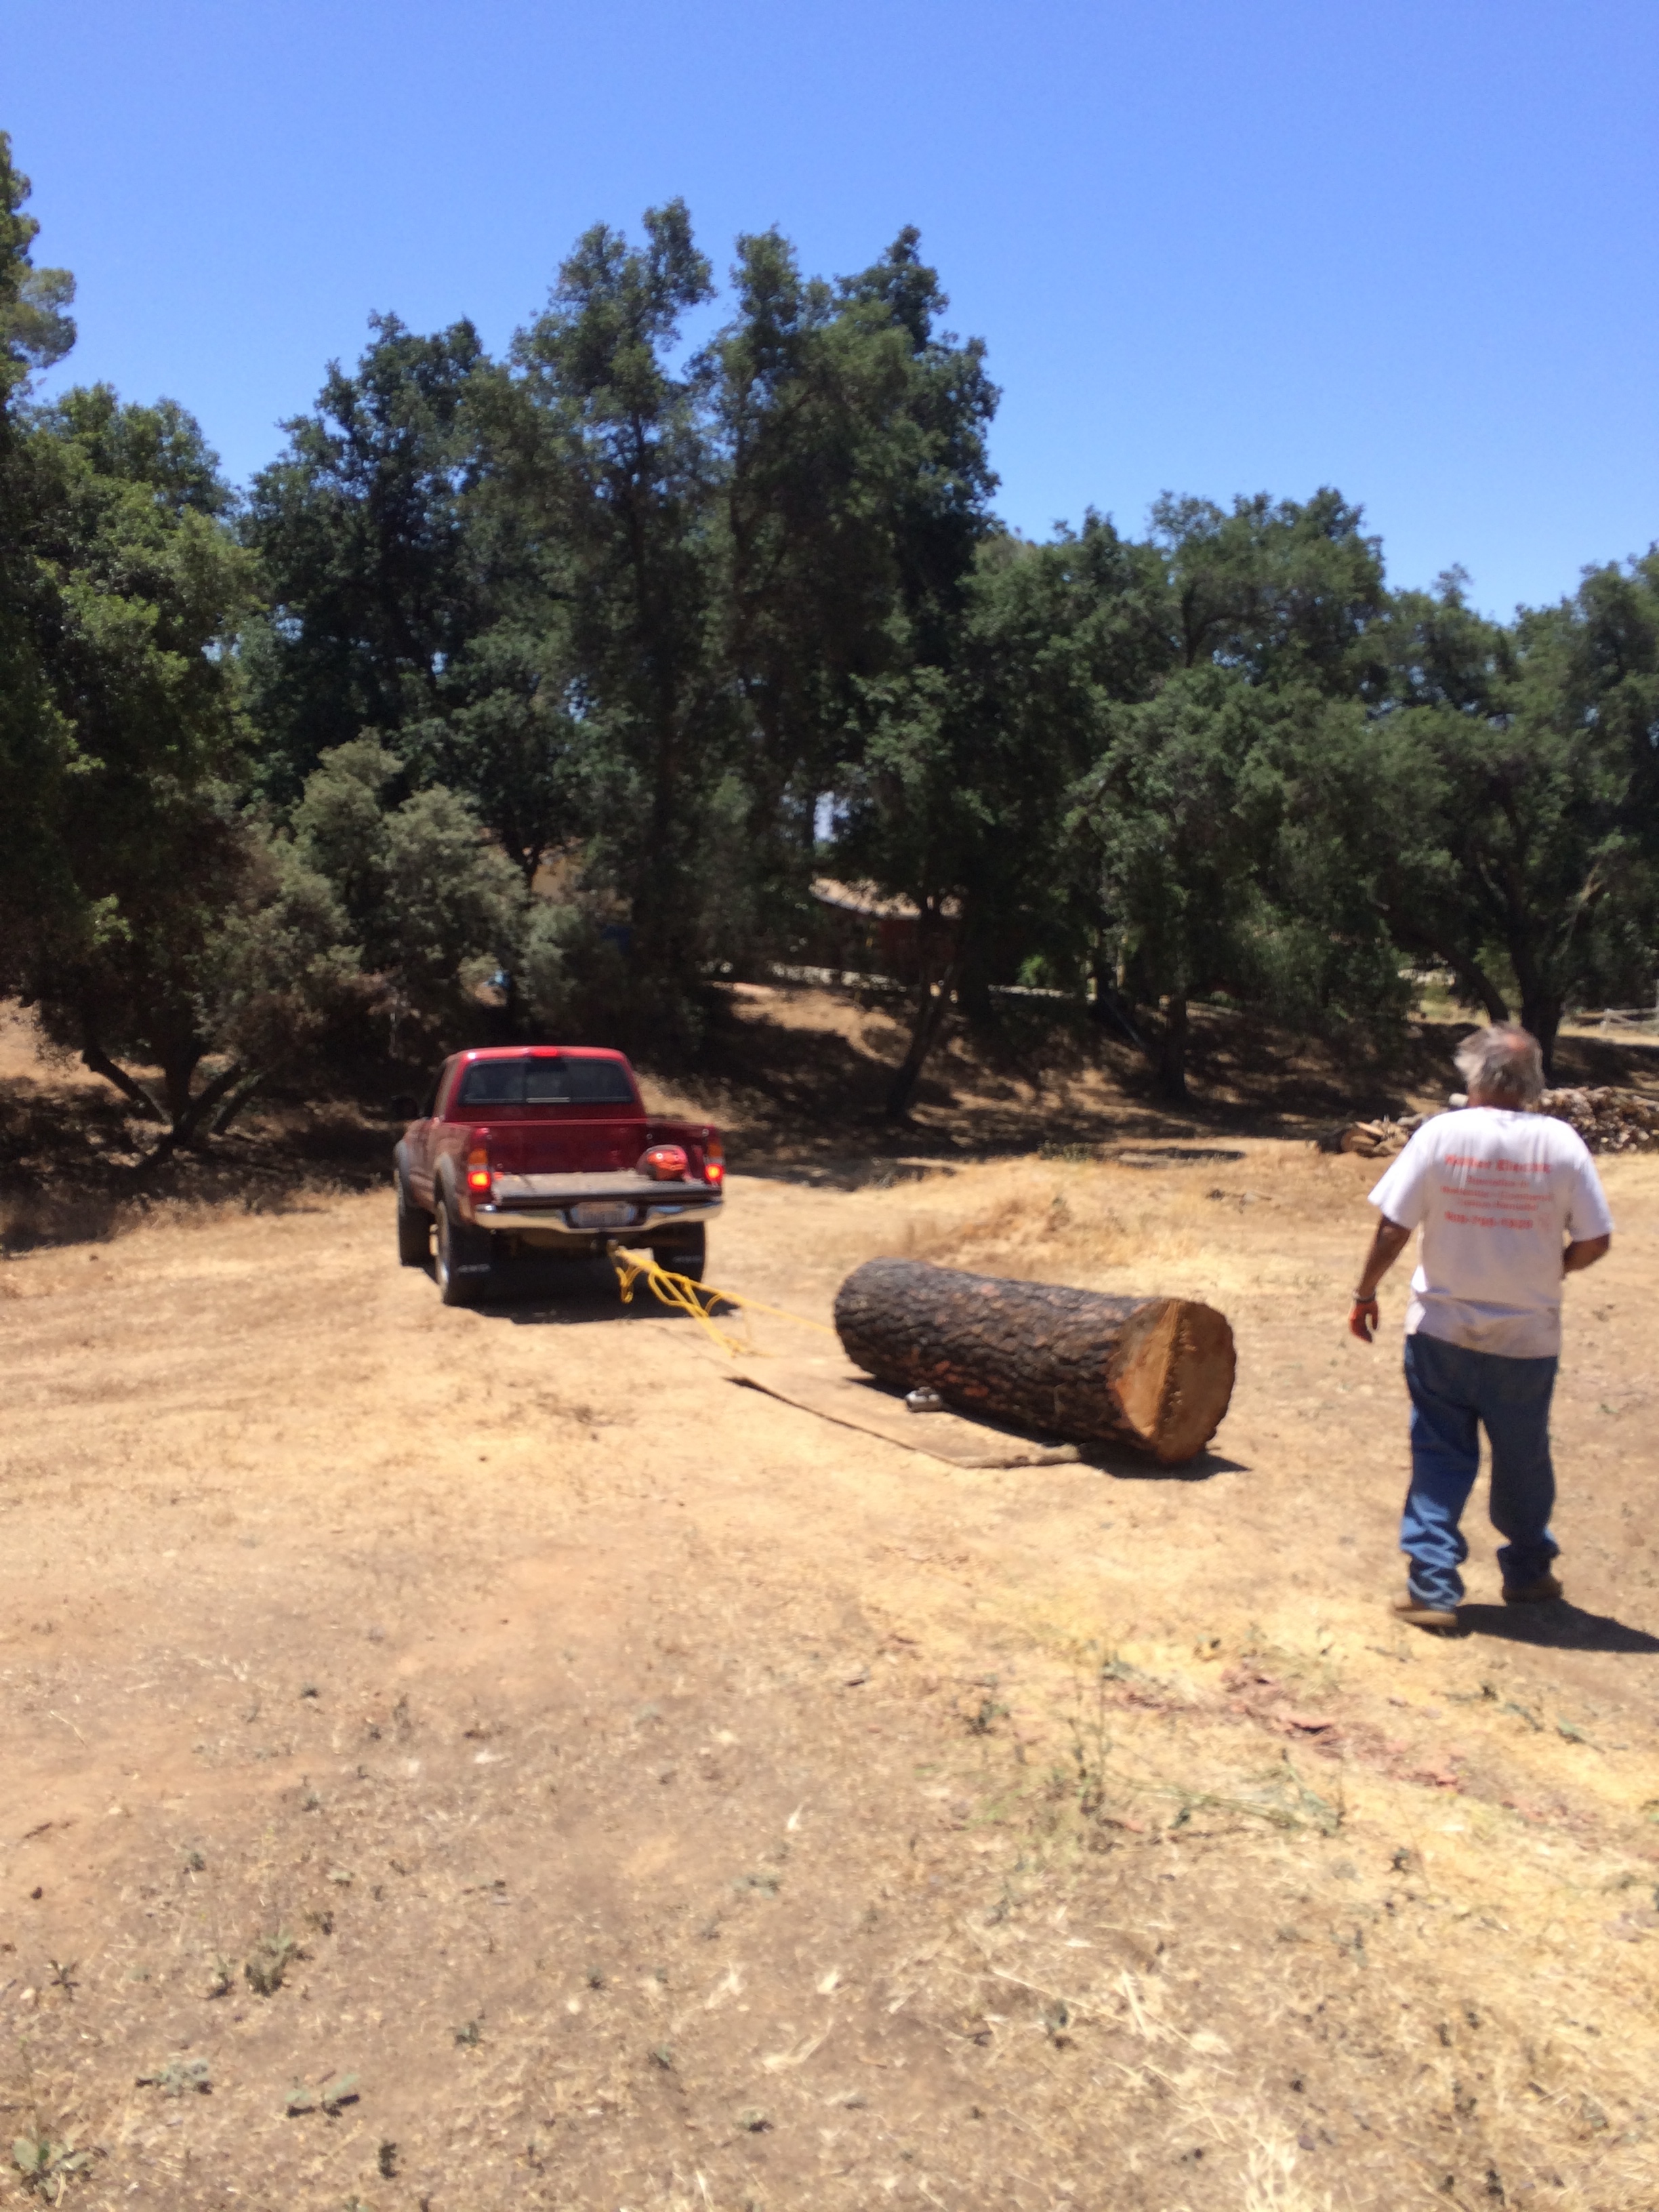
Moving logs from the ceremony site to the wood pile!

On the riding lawn mower, moving wood chips to various piles for the trees.

My lovely, lovely arch. I showed Bub a few pictures of what I wanted and this is what he constructed 🙂 Isn’t he awesome? I have the best husband, who was the best fiance. Just saying.

See? Log sections! 🙂
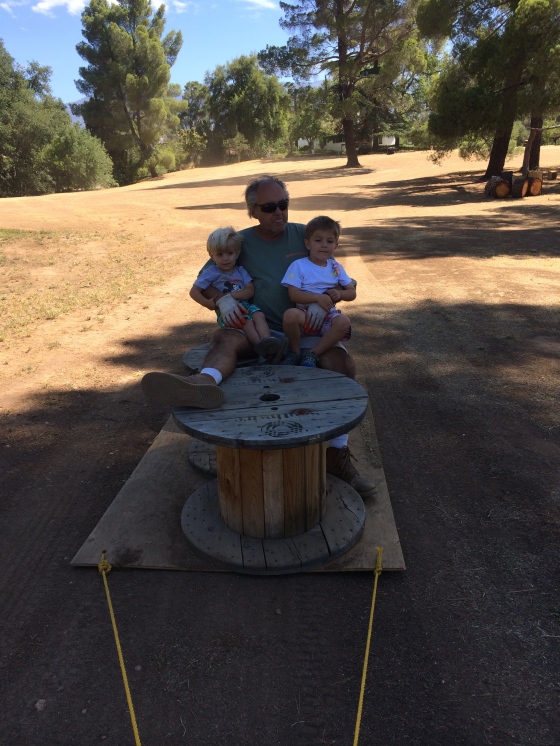
Moving the large wooden spools to their designated areas! I told Bub months before I wanted a few of these to use as tables for the gifts and decoration. He got like 8 of them for me! Love them. And him.

One big thing we did was decorate nearly all of the jars the week of the wedding. Bub’s wonderful family from Alaska came down for the wedding and were more than helpful! I don’t know what I would have done without them! We had over 100 jars of various sizes to decorate!
Making signs with my nephew, aka the Sign Bearer! He did a great job, too 🙂

I also made the bouquets! My sister-in-law and dear friend Genelle helped, of course. We used jumbo white hydrangeas and mini green hydrangeas. My bouquet had 5 white and about 4 green. They bridesmaids had 3 white and about 3 green. All of the flowers we used were purchased from Sam’s Club wholesale, shipped directly to my front door! Amazing! And wonderful quality! Not to mention inexpensive.
We wrapped the bouquets in burlap and then finished them off with twine. I’ll show you in a later post what I did with my bouquet 🙂

I even made the boutonnieres for Bub and his groomsmen 🙂
Wah! I think that’s it… Like I said, I’ll post more soon! But that’s all my brain can handle for right now. It’s just past midnight as I type this and I need to get some sleep!
I hope you enjoyed this post! I plan on doing a wedding dress one soon and how I ultimately chose my dress!
xo, Briana